Managing friend requests on Facebook can be time-consuming, especially when dealing with numerous requests. The AutoFriends extension simplifies this process by automating the confirmation of incoming friend requests. This article provides a detailed guide on using the AutoFriends extension to confirm friend requests efficiently.
Step-by-Step Guide to Using AutoFriends
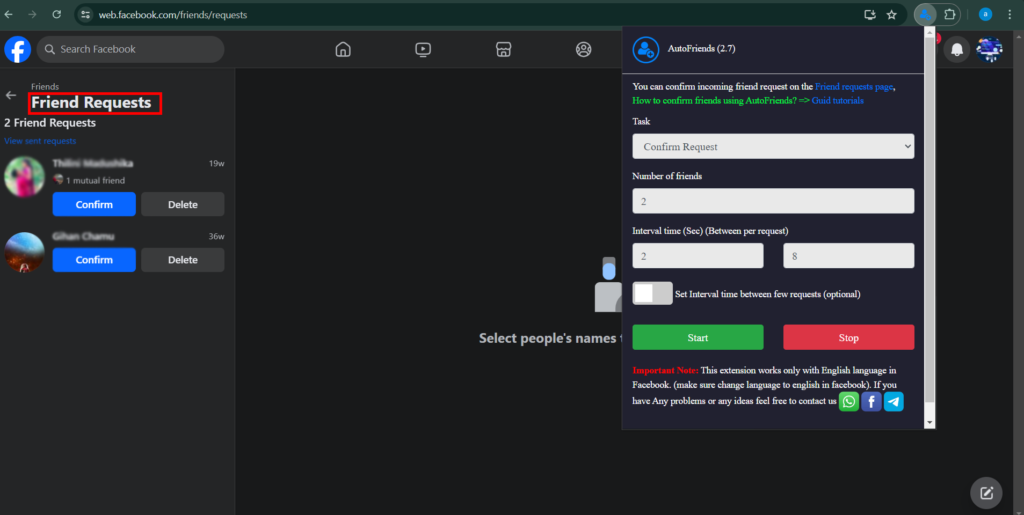
Navigate to the Friend Requests Page
- Open Facebook and go to the “Friend Requests” page. This can typically be found in the left sidebar under the “Friends” section.
- You can use this link for that https://web.facebook.com/friends/requests
Configure AutoFriends
- Click on the AutoFriends extension icon in your browser to open the interface.
- Set up the task for confirming friend requests:
- Task: From the dropdown menu, select “Confirm Request”.
- Number of Friends: Enter the number of friend requests you want to confirm. For example, if you want to confirm 6 requests, enter “6”.
- Interval Time (Sec): Set the interval time between each confirmation. For instance, set it to 3 seconds between requests, and a maximum of 10 seconds.
- Additional Interval: If needed, you can set an additional interval time between a few requests by checking the optional checkbox and specifying the interval.
Initiate the Process
- Ensure you are on the “Friend Requests” page where you can see the incoming requests.
- Click the “Start” button in the AutoFriends interface to begin confirming friend requests. The extension will automatically confirm the requests according to your configured settings.
- If you need to stop the process at any time, click the “Stop” button.
Monitor the Progress
- Keep an eye on the process to ensure everything is functioning correctly. Adjust the settings if necessary to improve performance or address any issues.